The Importance of a Well-Designed Studio Space
Your studio is more than just a physical space—it's the environment that nurtures your creative process. A well-designed studio can enhance productivity, spark inspiration, and make the creative process more enjoyable and efficient. Whether you're converting a spare room, setting up in a corner of your living space, or designing a dedicated building, the principles of an effective studio remain the same.
In this guide, we'll explore the essential elements of a productive artist's studio and provide practical advice for creating a space that works for your specific artistic practice, space limitations, and budget constraints.
Finding the Right Location
The location of your studio is the foundation upon which everything else is built. When choosing or creating a studio space, consider these key factors:
Natural Light Considerations
Natural light is one of the most important elements for most visual artists. North-facing windows (in the Northern hemisphere) provide consistent, indirect light that doesn't change dramatically throughout the day. If possible, position your workspace to take advantage of this steady light source.
However, don't despair if ideal natural lighting isn't available. With the right artificial lighting setup (which we'll discuss later), you can create excellent working conditions in any space.
Space Requirements
The amount of space you need depends on your medium and working style. Consider:
- The size of your typical work
- Storage needs for materials and finished pieces
- Space for different stages of your process
- Room to step back and view work from a distance
Planning your studio layout based on your creative process
Practical Considerations
Beyond the aesthetic elements, practical considerations include:
- Ventilation: Essential for artists working with materials that produce fumes
- Water access: Important for many artistic processes
- Floor surface: Ideally easy to clean and durable
- Sound: Consider both noise you might make and external noise that could disturb you
- Temperature control: Many materials are sensitive to temperature extremes
Pro Tip
If you're setting up in a shared or multi-purpose space, consider how you can create visual and physical boundaries that help you mentally transition into "studio mode" when it's time to create. Even something as simple as a folding screen or a dedicated rug can help define your creative territory.
Lighting Your Studio
Proper lighting is crucial for accurate color perception and detail work. A comprehensive lighting system typically includes:
Natural Light Management
Even with good natural light, you'll need ways to control it:
- Adjustable blinds or curtains to control intensity
- Diffusion options (like translucent curtains) for harsh direct sunlight
- Reflectors to bounce light into shadowed areas
Artificial Lighting
A complete artificial lighting setup should include:
- Ambient lighting: For general illumination of the entire space
- Task lighting: Focused light for detail work
- Accent lighting: To highlight completed works or reference materials
For color-critical work, invest in high CRI (Color Rendering Index) lights with a color temperature around 5000K-5500K, which most closely mimics natural daylight.
Effective combination of natural and artificial lighting
Organizing Your Workspace
An organized studio is efficient and inspires creativity rather than frustration. Consider these organizational principles:
Workflow Zones
Divide your studio into functional zones based on your creative process:
- Creation zone: Where the primary work happens
- Preparation zone: For preparing materials
- Storage zone: For materials, tools, and finished works
- Documentation zone: For photographing or digitizing work
- Contemplation zone: A comfortable space to step back and evaluate work
Storage Solutions
Effective storage solutions should be:
- Visible: You're more likely to use materials you can see
- Accessible: Frequently used items should be within easy reach
- Adjustable: Your storage needs will evolve with your practice
- Protected: Some materials need protection from dust, light, or moisture
Consider a combination of:
- Open shelving for frequently used items and visual inspiration
- Transparent containers for materials you need to see
- Closed cabinets for items that should be protected or that might create visual clutter
- Vertical storage for tools, papers, and canvases
Pro Tip
Label everything, especially if using opaque containers. This simple step saves countless hours of searching and helps maintain organization over time. Consider using a consistent color-coding system for different categories of materials.
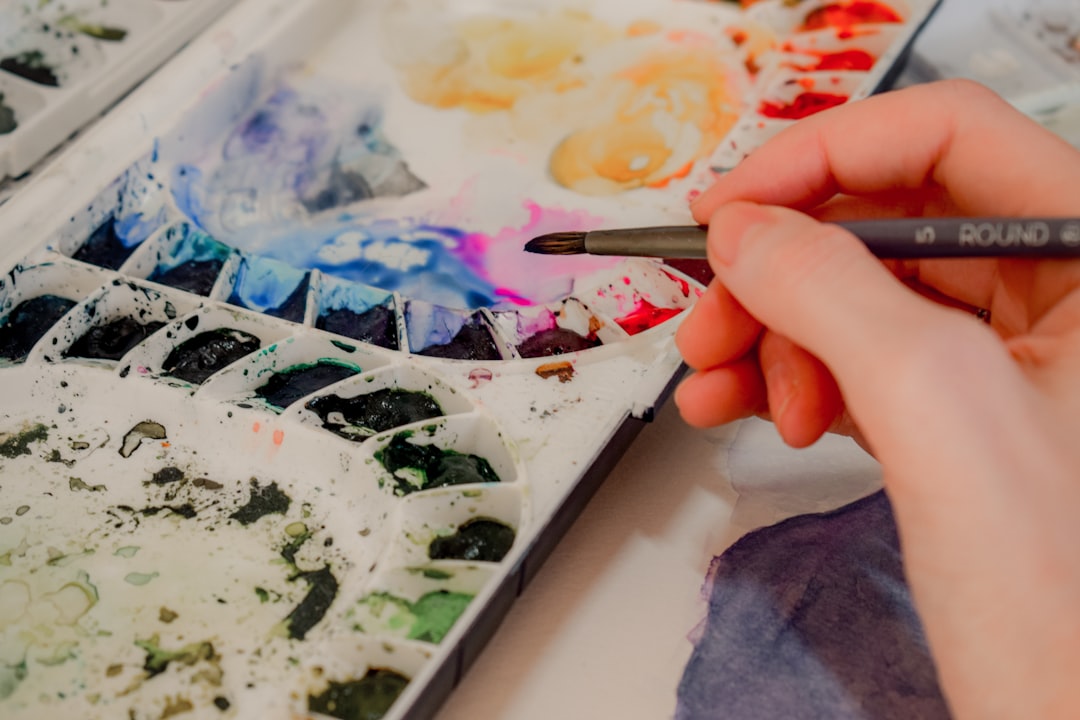
Ergonomics and Comfort
Creating art often involves long periods in the same position. Proper ergonomics not only prevents pain and injury but also improves focus and productivity.
Seating and Standing
Consider:
- An adjustable chair with good back support
- An adjustable or standing desk/easel to allow position changes
- Anti-fatigue mats for areas where you stand frequently
- Footrests for seated work
Tool and Material Placement
Arrange your workspace following these principles:
- Keep frequently used tools within the "golden triangle" between your shoulders and waist
- Position your primary work surface at a height that doesn't require hunching or reaching
- Ensure adequate space to move around your work
- Position reference materials to minimize neck strain
Ergonomic considerations for a comfortable creative process
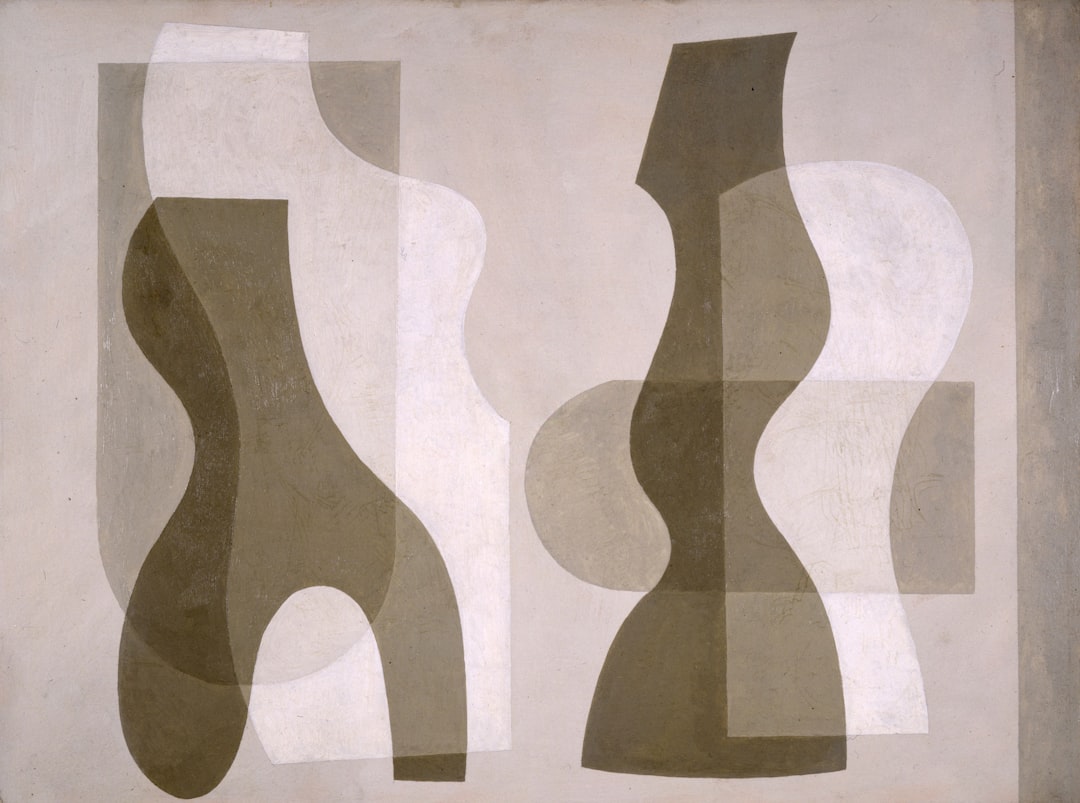
Creating an Inspiring Atmosphere
Beyond the functional aspects, your studio should inspire and motivate you. Personal touches that can enhance your creative environment include:
Visual Inspiration
- Inspiration board or wall for collecting images, quotes, and ideas
- Display area for your own completed works
- Books and references within easy reach
- Space for rotating visual stimuli to prevent habituation
Atmospheric Elements
- Plants to improve air quality and add life to the space
- Sound system or noise-canceling options depending on your preference
- Temperature control for comfort and material preservation
- Personal objects that spark joy or creativity
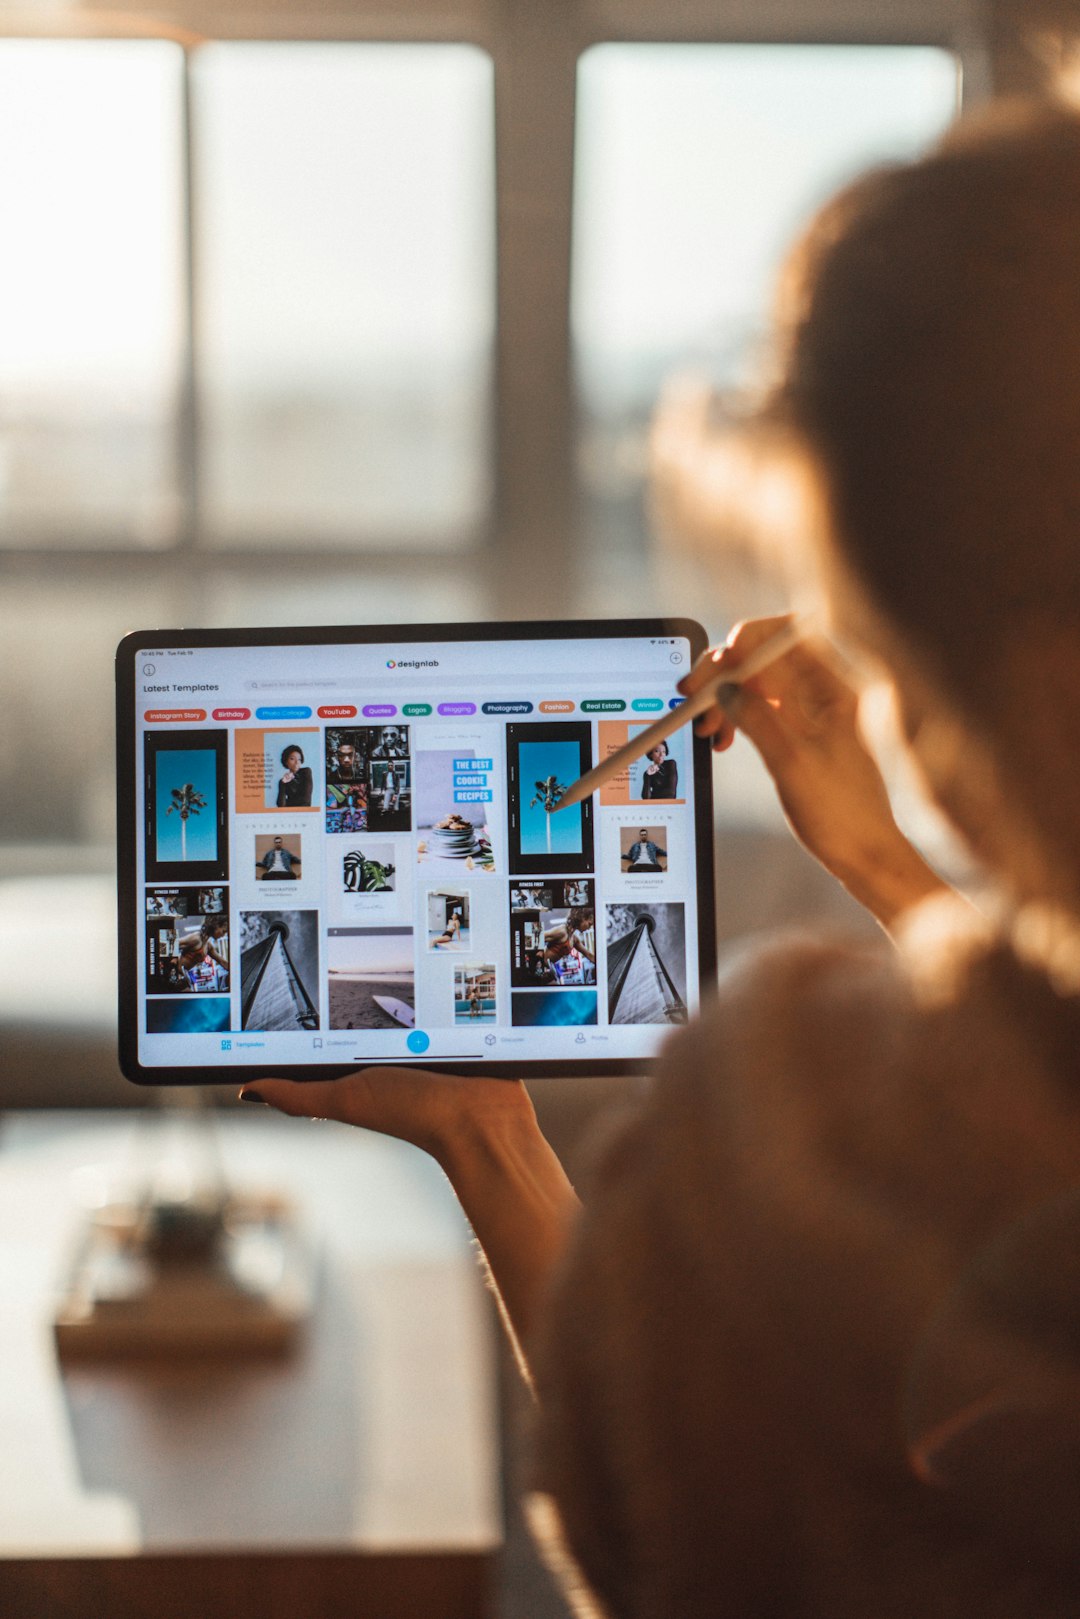
Technology Integration
Even traditional artists benefit from thoughtful technology integration in their studios:
- Computer workspace for research, documentation, and digital work
- Photography setup for documenting process and finished work
- Charging stations for devices
- Printing capabilities if relevant to your practice
- Projector or large display for reference images or digital sketches
Studio on a Budget
Creating an effective studio doesn't have to break the bank. Consider these budget-friendly approaches:
- Repurposed furniture like dining tables, dressers, or bookshelves
- DIY storage solutions using basic materials
- Second-hand equipment from art schools, studios, or office closures
- Modular systems that can grow with your practice
- Prioritizing essentials first and adding as finances allow
Pro Tip
When working with a limited budget, invest first in your primary work surface and good lighting. These elements have the most direct impact on your ability to create effectively. Other aspects can be upgraded incrementally as your resources allow.
Conclusion
Your studio is a deeply personal space that should reflect and support your unique creative process. There's no one-size-fits-all solution, but by considering the elements discussed in this guide, you can create a space that enhances your productivity, protects your physical well-being, and inspires your artistic journey.
Remember that your studio will evolve along with your practice. Start with the essentials, observe how you actually work in the space, and make adjustments based on real experience rather than theoretical ideals. The perfect studio isn't created overnight but develops through an iterative process of refinement.
Most importantly, don't let perfectionism about your space prevent you from creating. The most beautiful, well-designed studio is meaningless if it intimidates you out of actually making art. The ultimate purpose of your studio is to facilitate your creative practice—if it's doing that, then it's successful, regardless of its aesthetic or organizational perfection.

Comments (17)
David Lee
June 12, 2024The section on lighting was incredibly helpful! I've always struggled with getting consistent light in my basement studio, but the layered approach you suggested with different types of artificial lighting has made a huge difference.
Elena Petrova
June 11, 2024I love the idea of workflow zones! I've rearranged my small studio based on this concept and it's amazing how much more efficient my process has become. No more searching for tools in the middle of a creative flow!
Leave a Comment